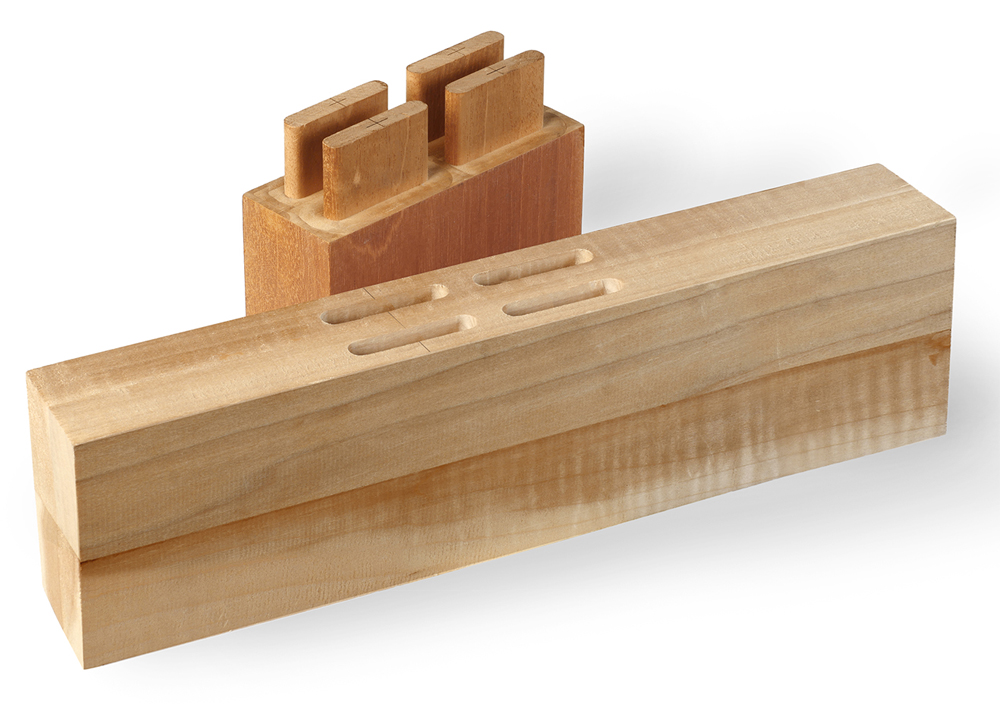
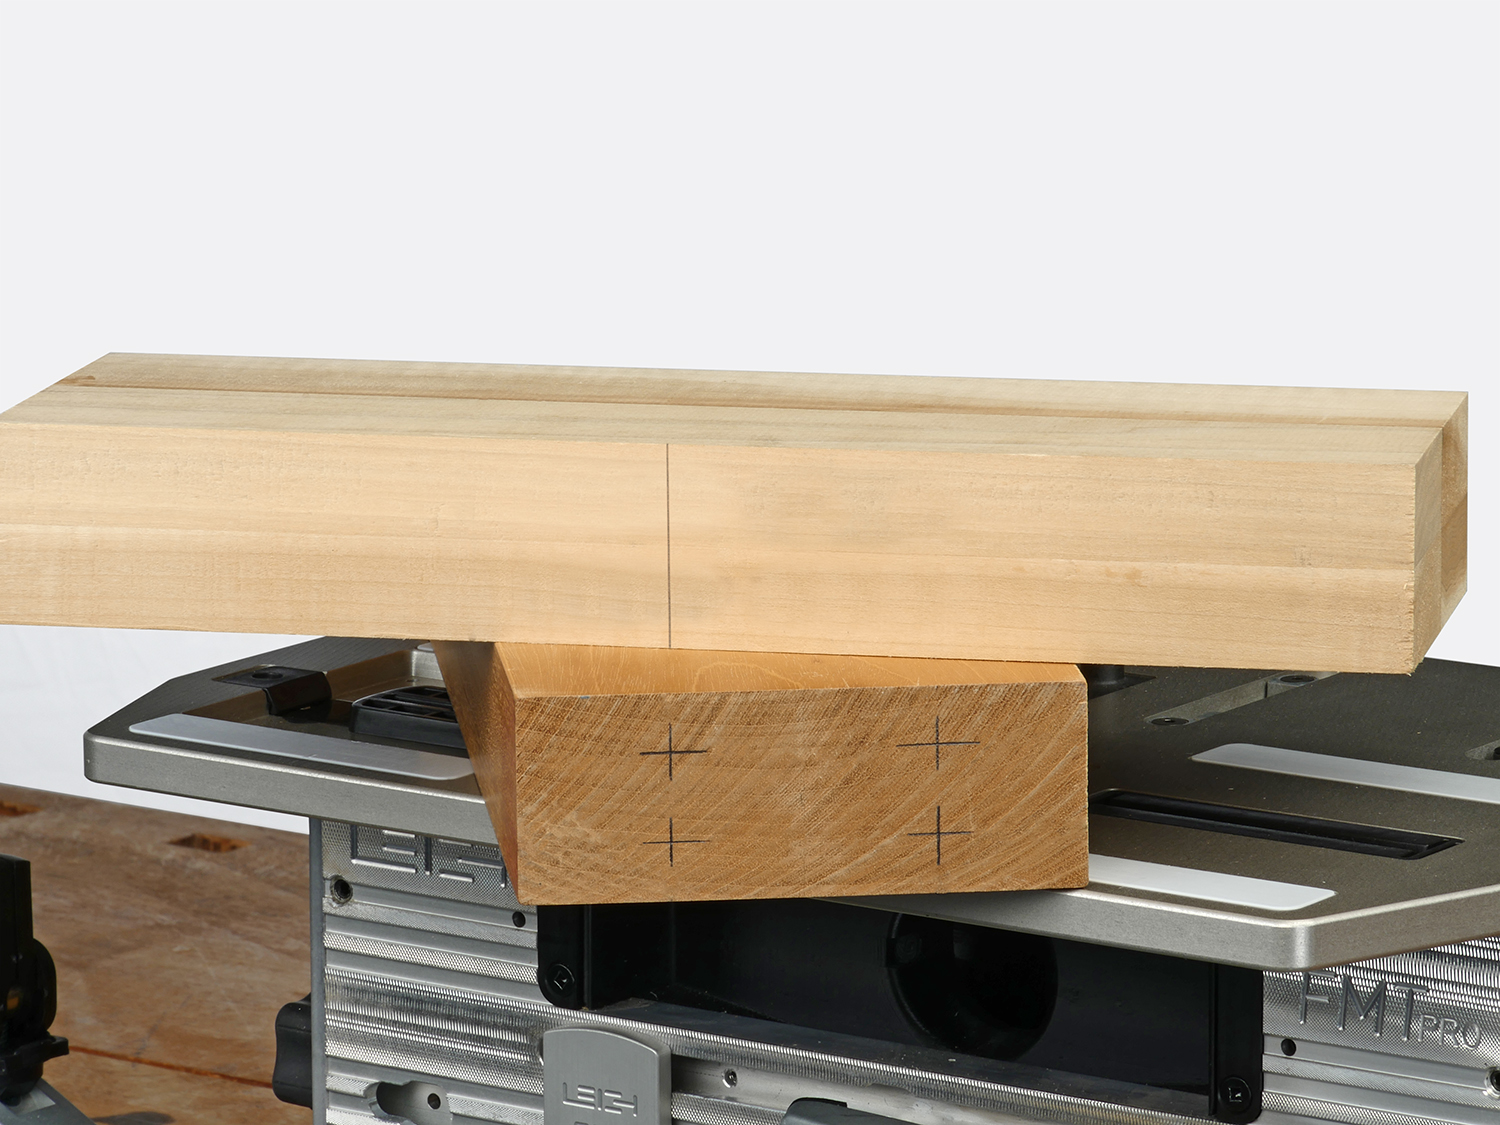
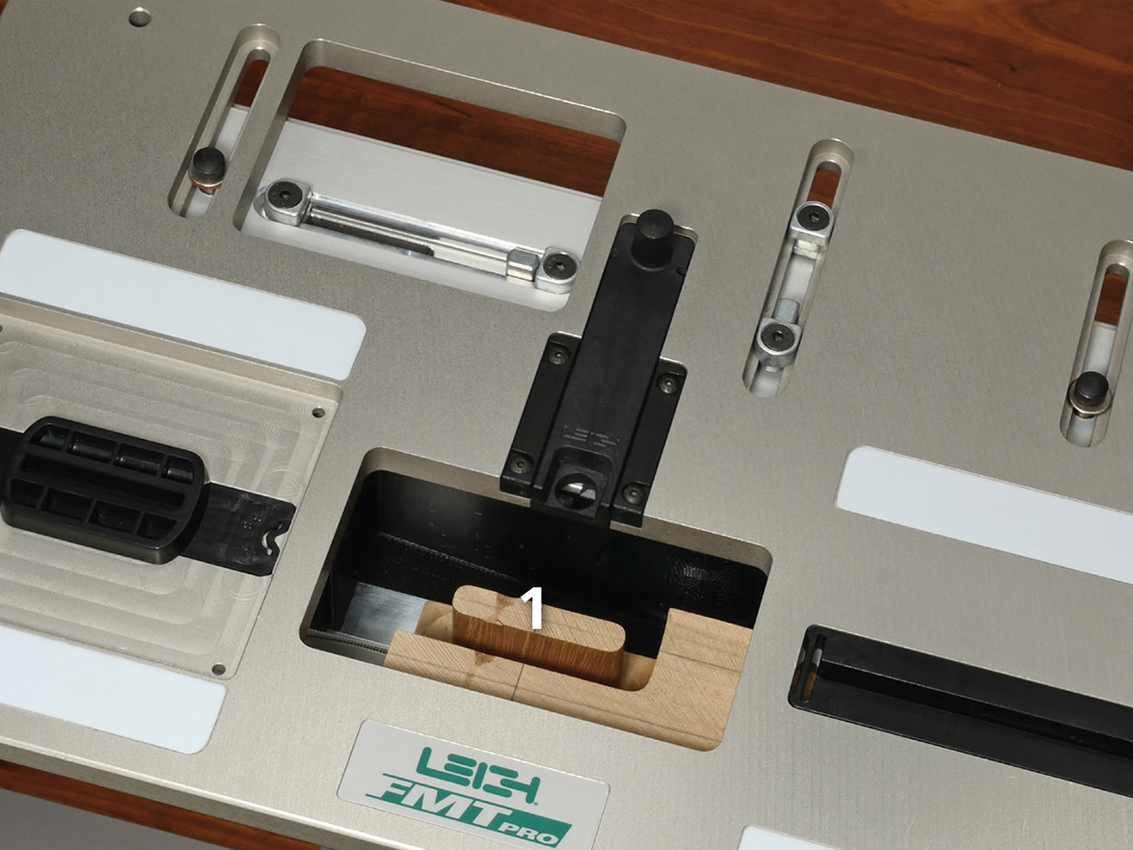
1 Choose the guide and bit, and install the bit in your router, as you would for single or double joints. Mark the four tenon centers and mortise position to suit your layout.
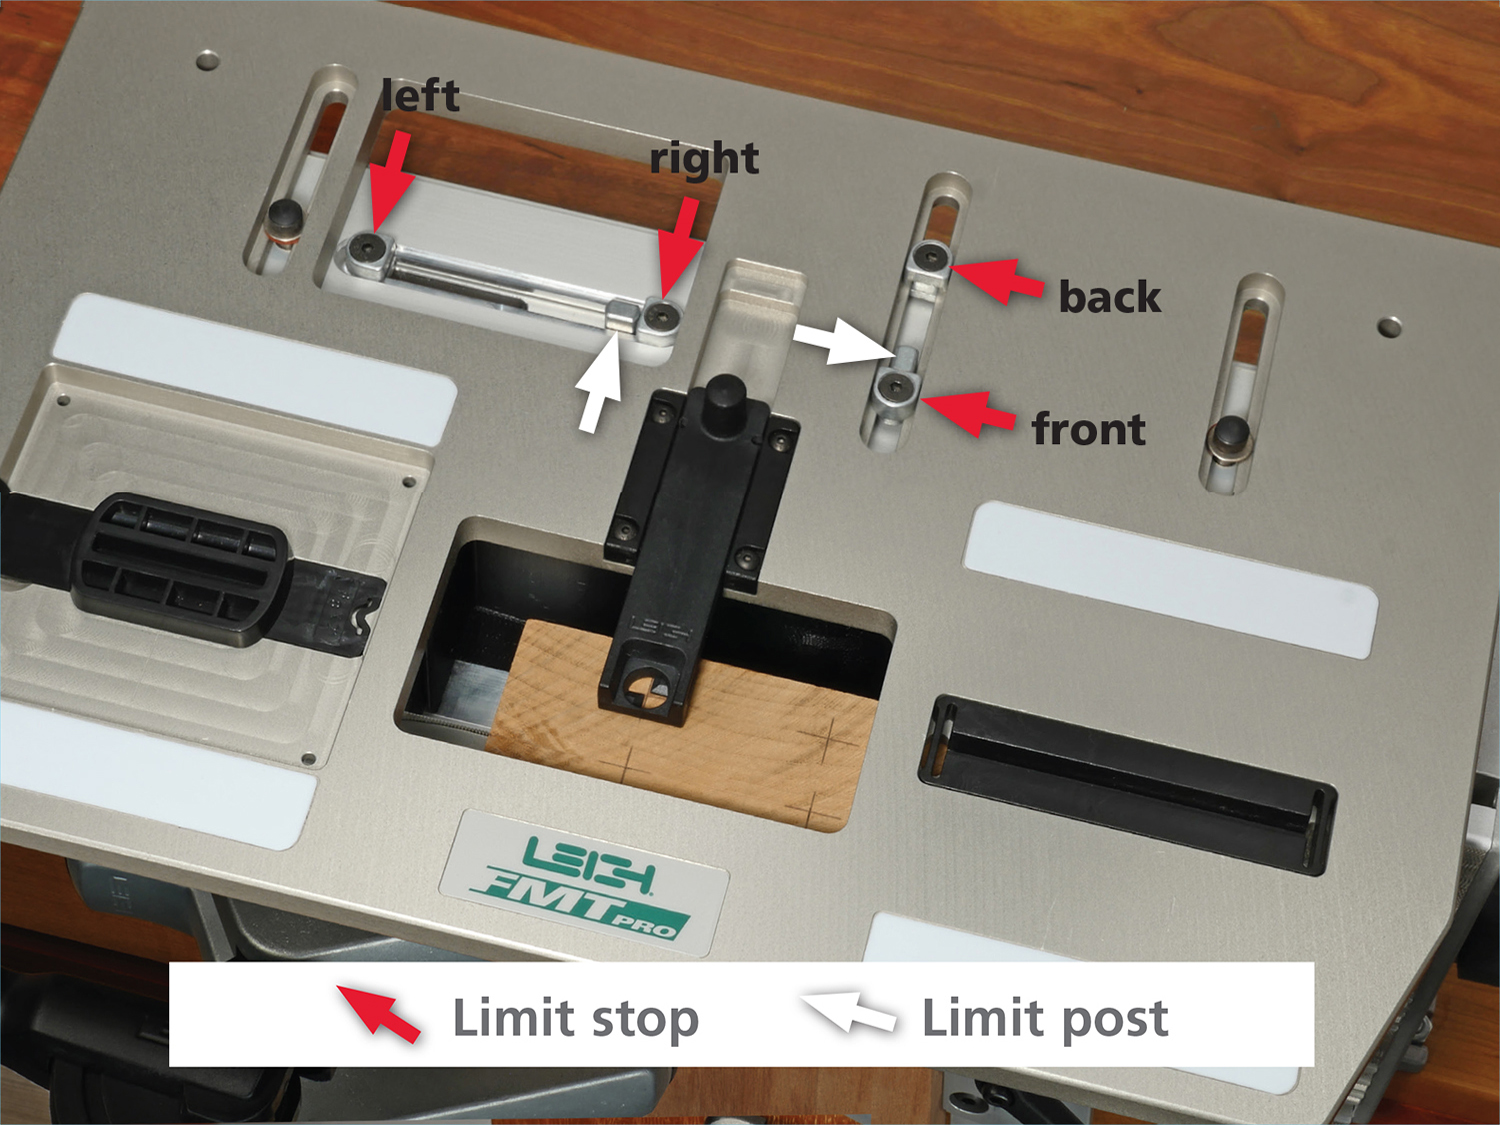
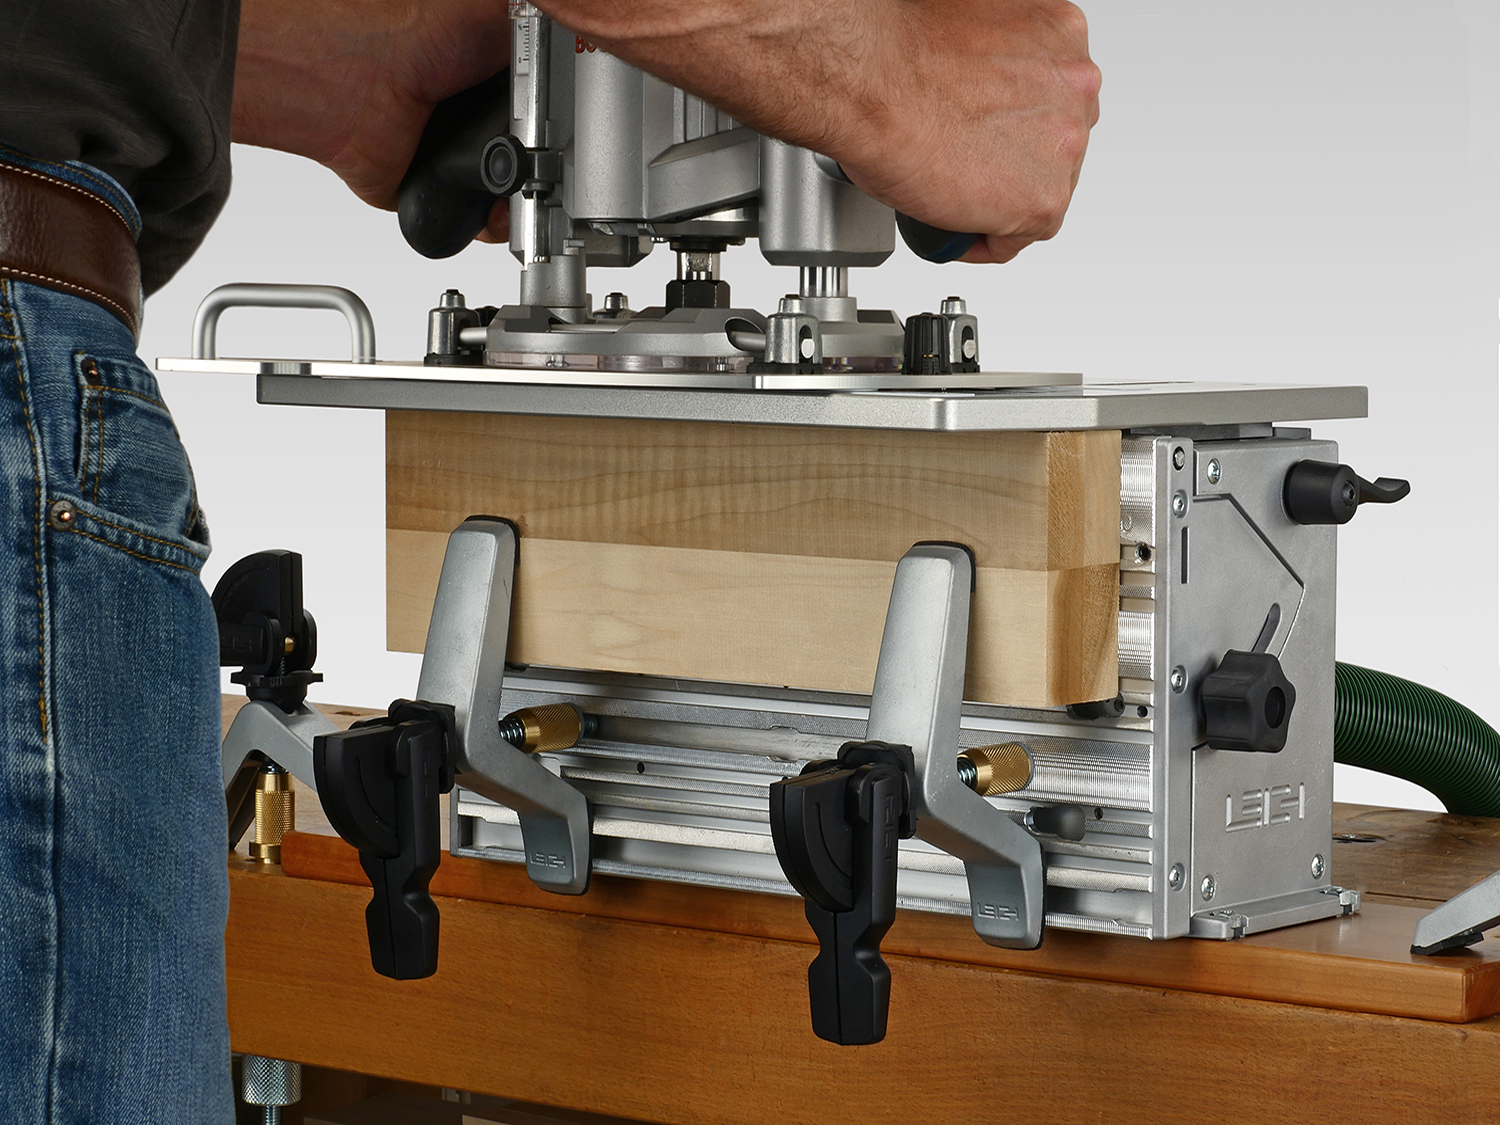
2 With your tenon workpiece clamped in place, sight each tenon center, setting the limit stops against the limit posts as instructed in the user guide. This sets up the table for easy and accurate positioning, as you rout each successive workpiece.
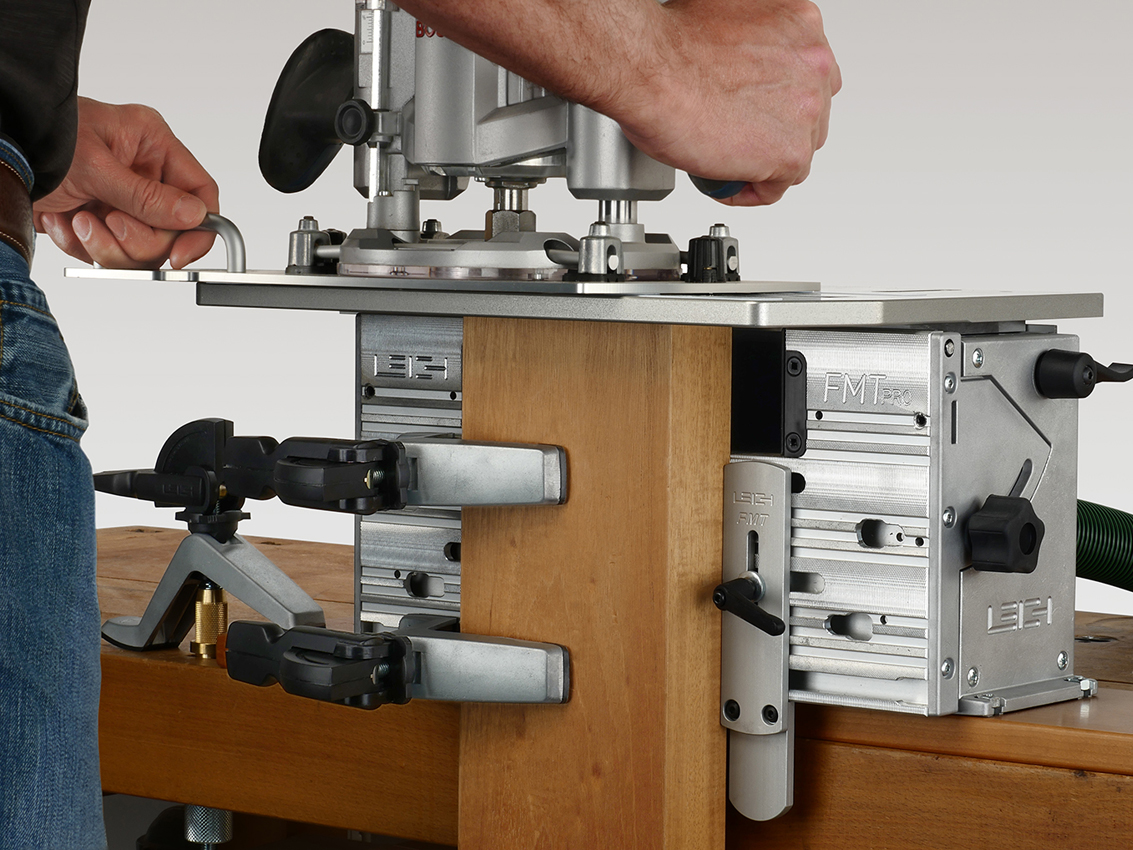
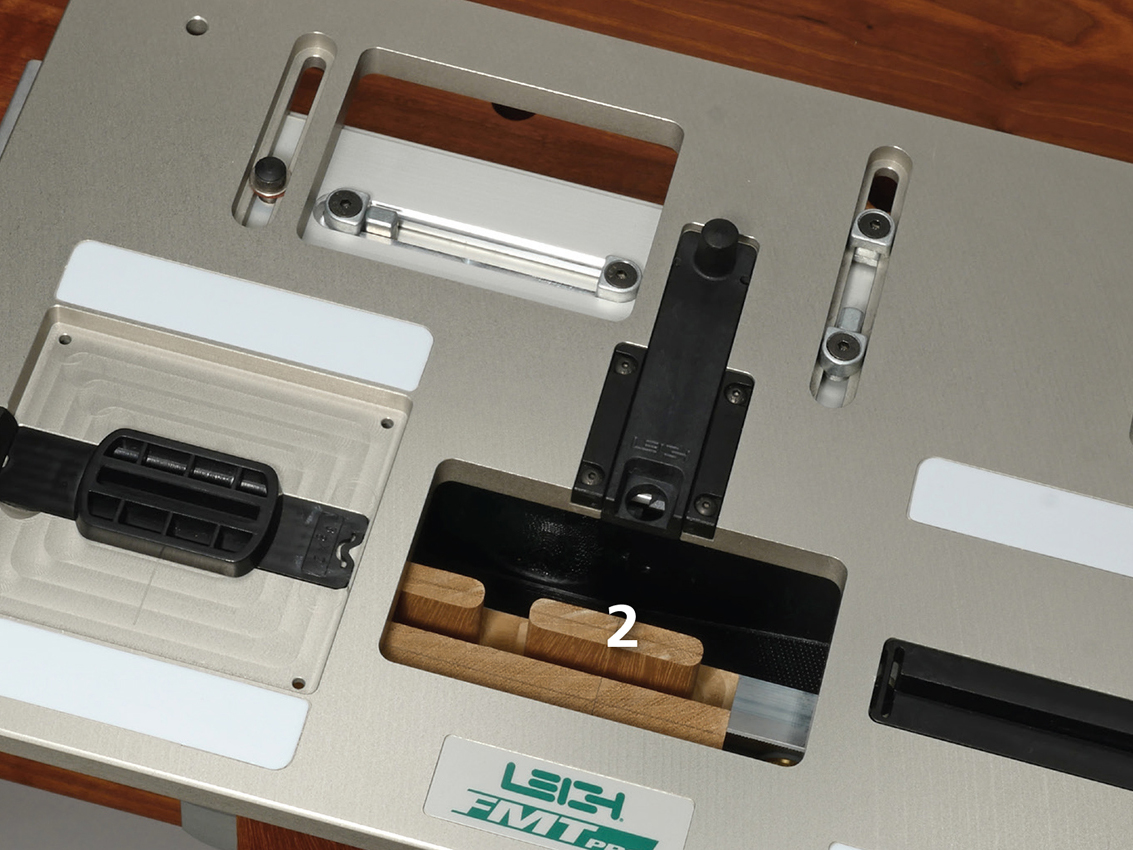
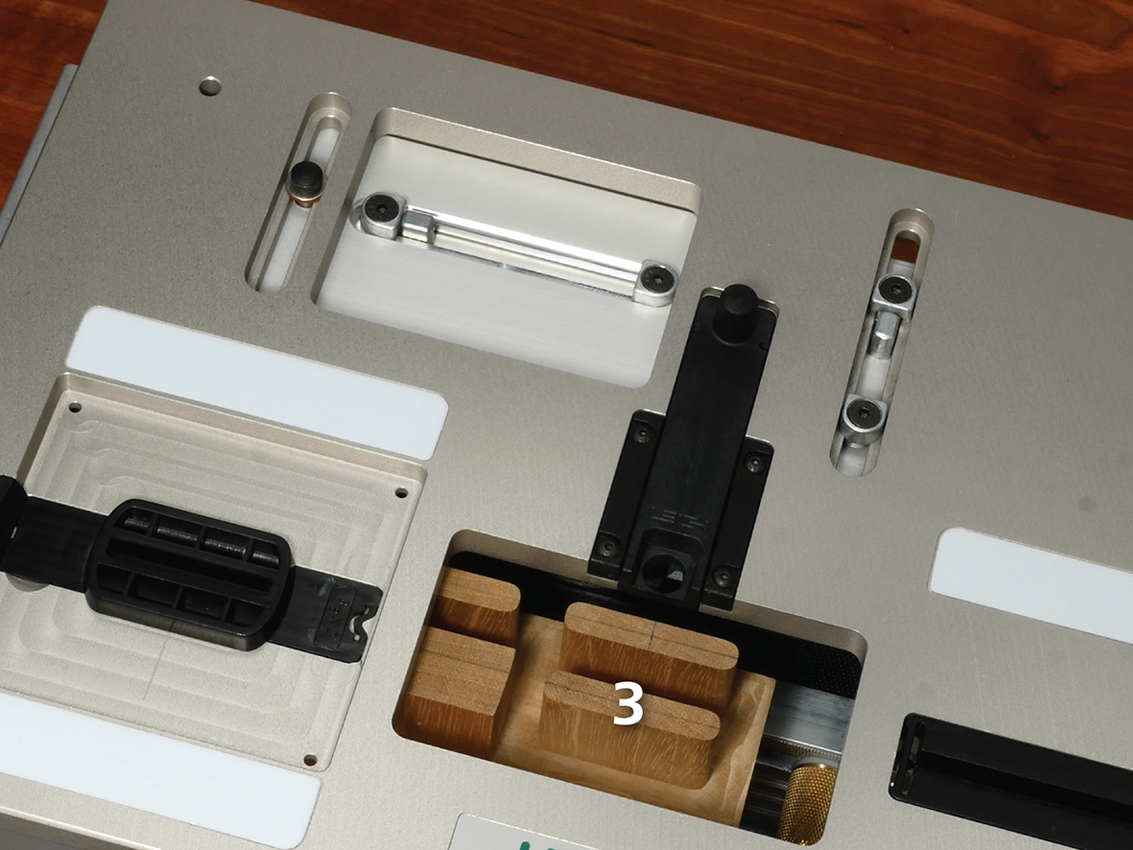
3 Place the router/sub-base on the table in position, ready to rout around the joint guide. Note: Duplicate tenons can be routed without having to mark or sight the tenons.
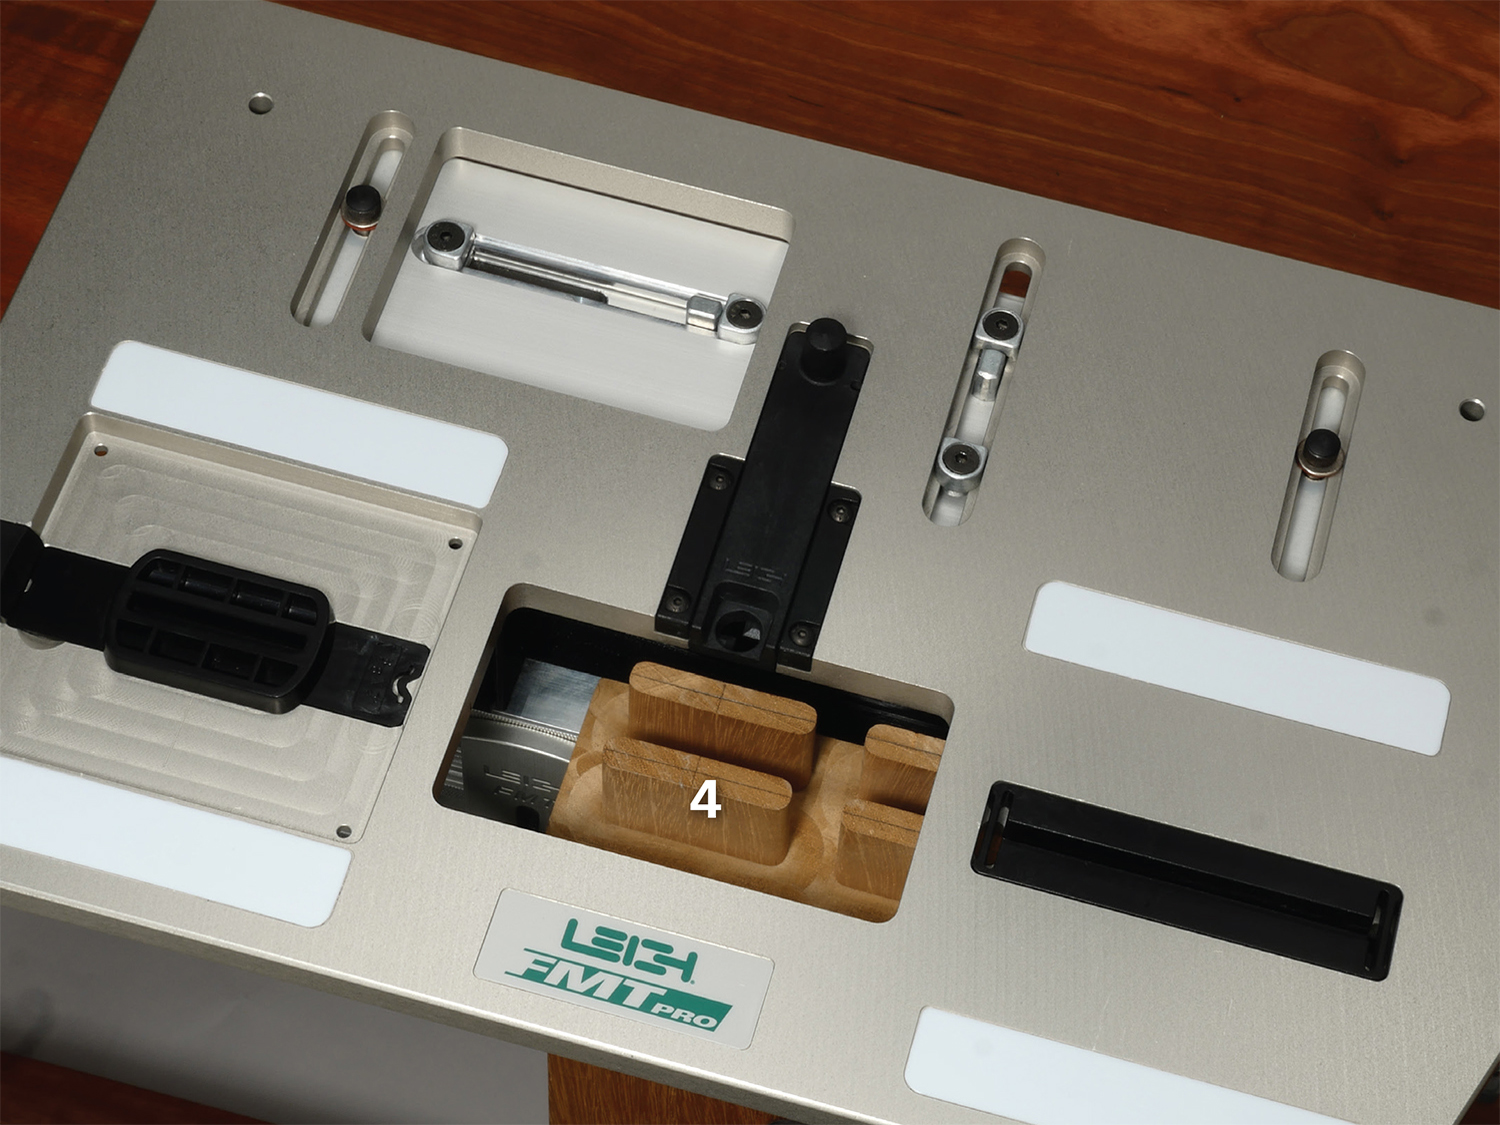
4 All four tenons will be routed in their respective table positions. Rout the rear left tenon first.
5 Move table to right. Rout the rear right tenon.
6 Move table forward. Rout the front right tenon.
7 Move table to left. Rout the front left tenon.
1 Follow the same steps as for single and double mortises. Rout the mortises in their preset respective table positions.
Note: See Outrigger Beams for marking an outrigger for successive mortises or for setting a stop-block for duplicate mortise boards.
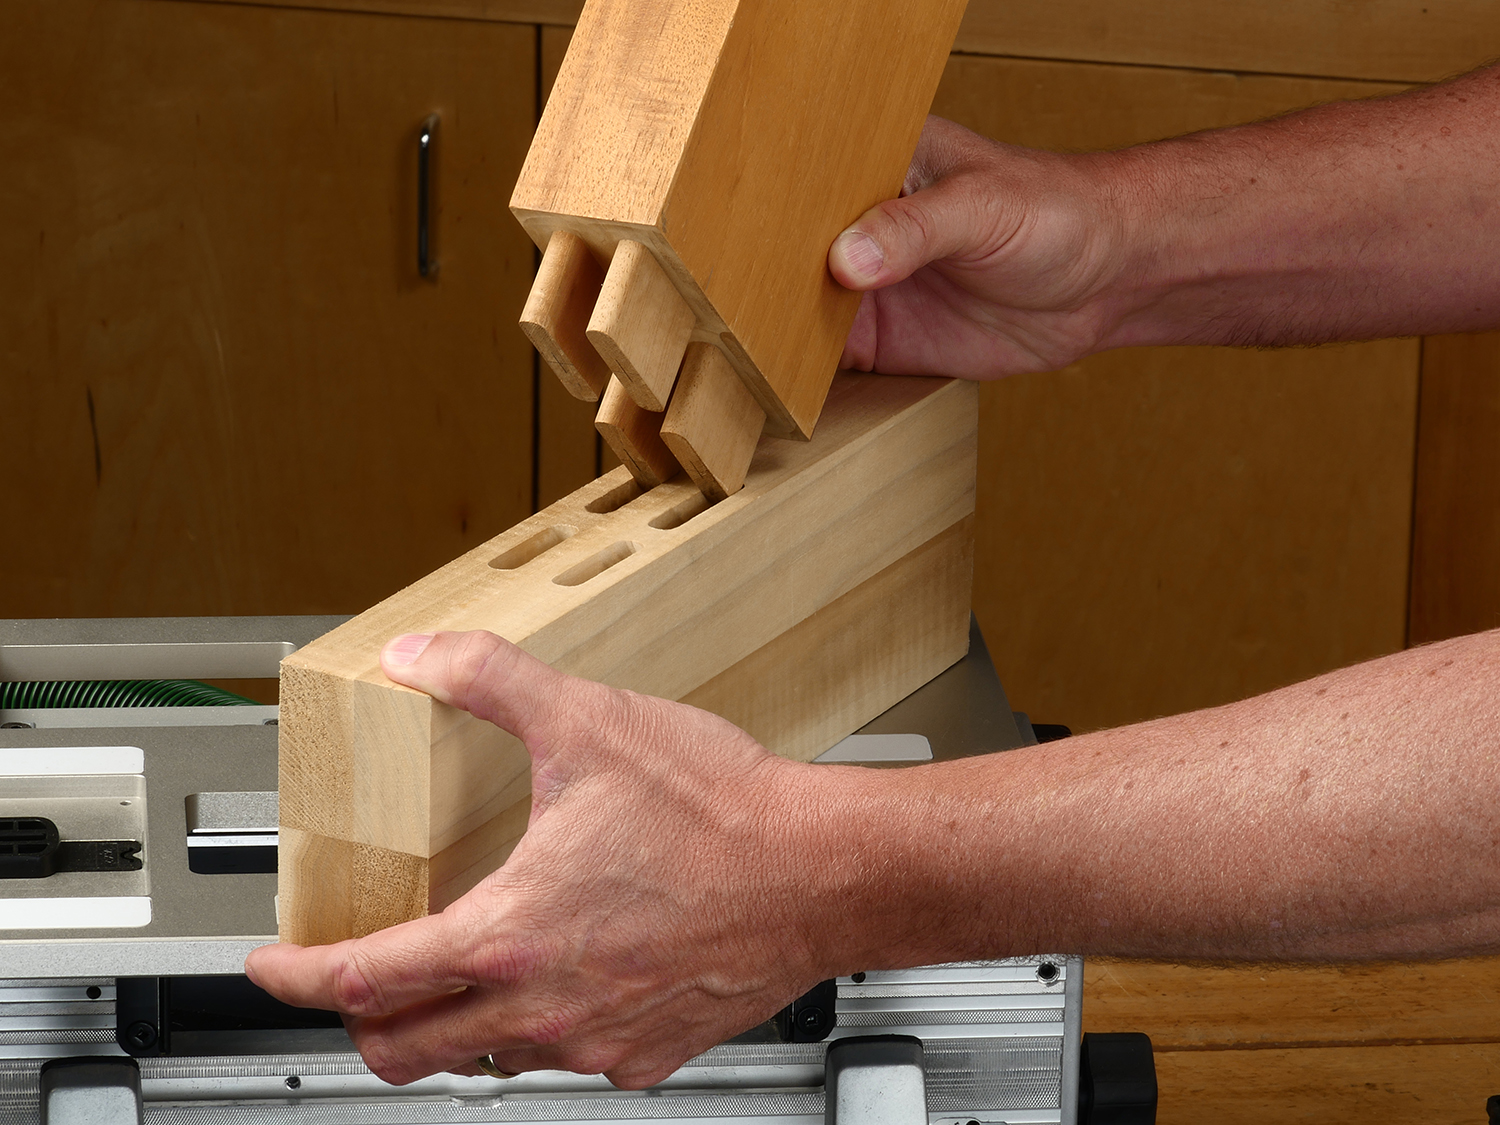
2 You’re now ready to join the routed mortises and tenons together.
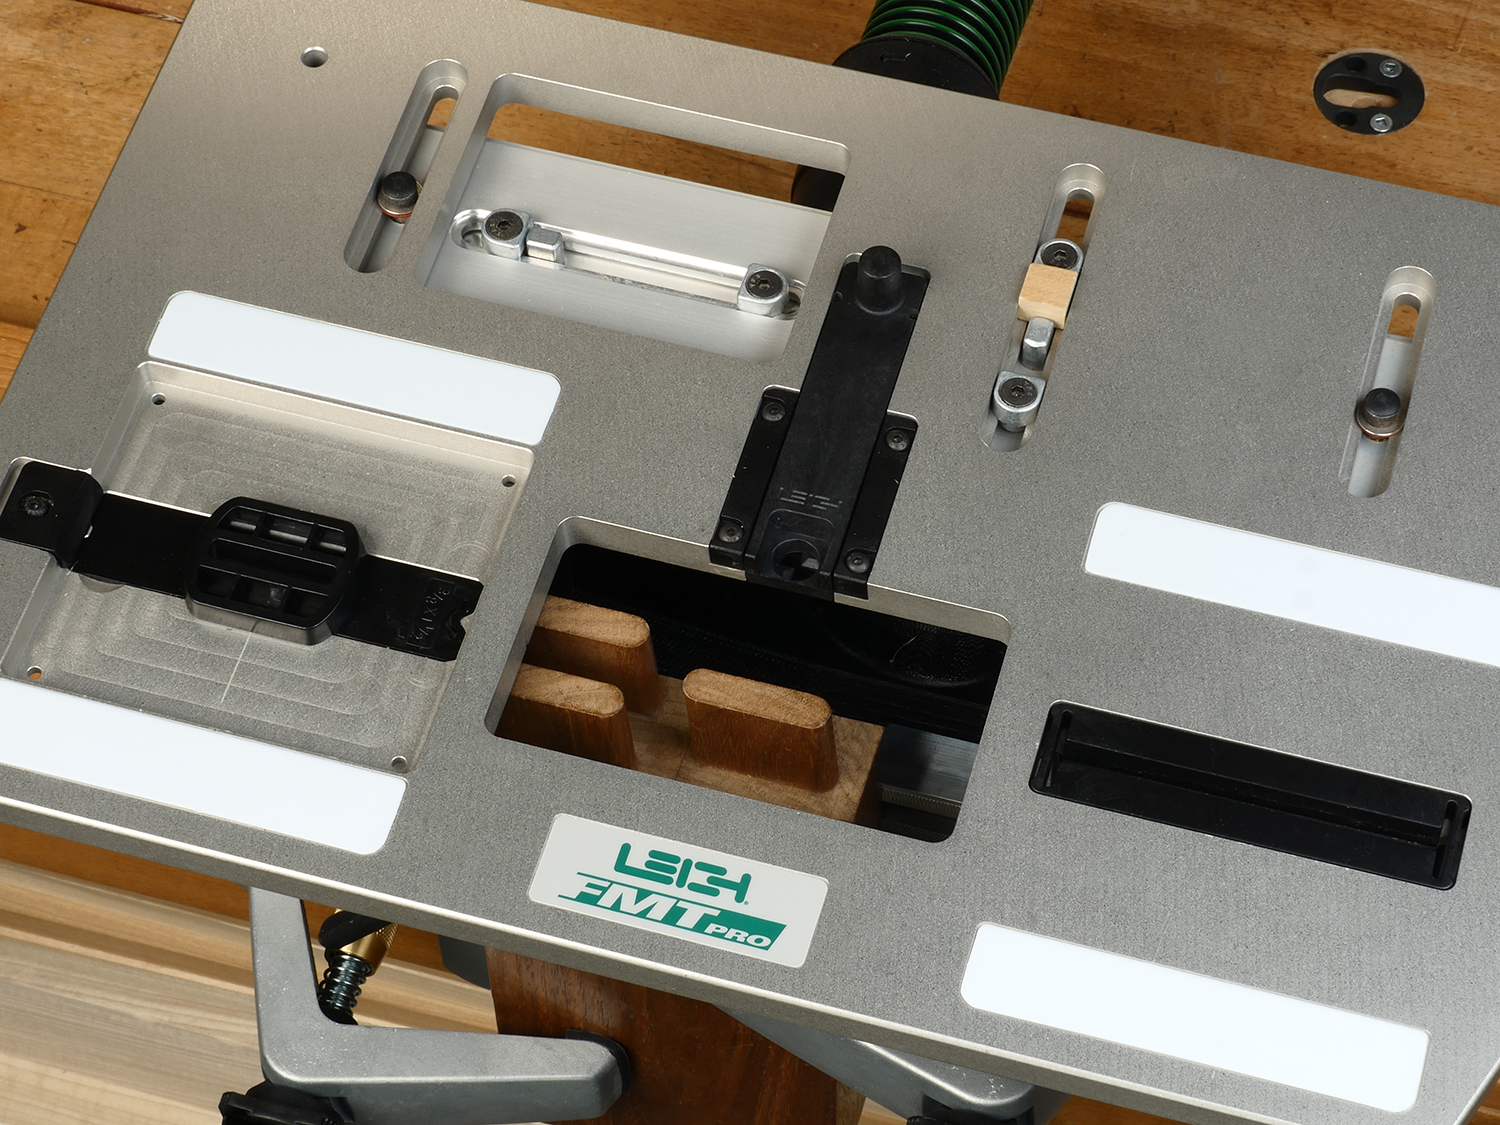
A shop-made block is used to center the single tenon.
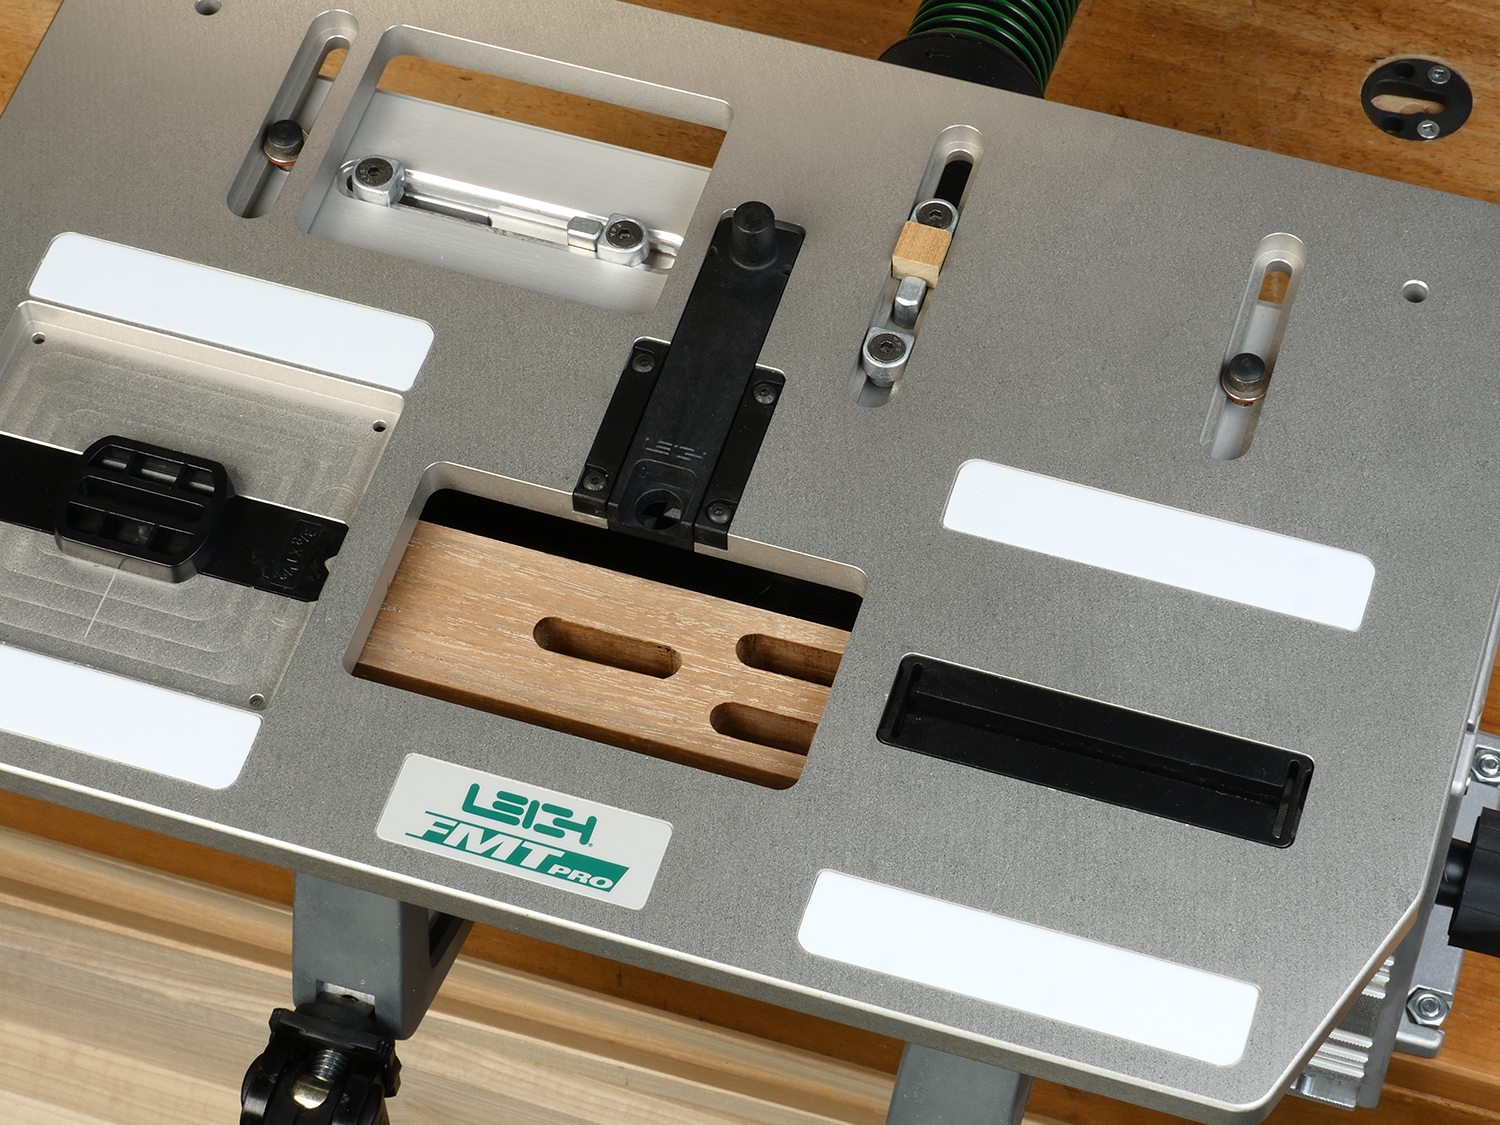
A shop-made block is used to center the single tenon.
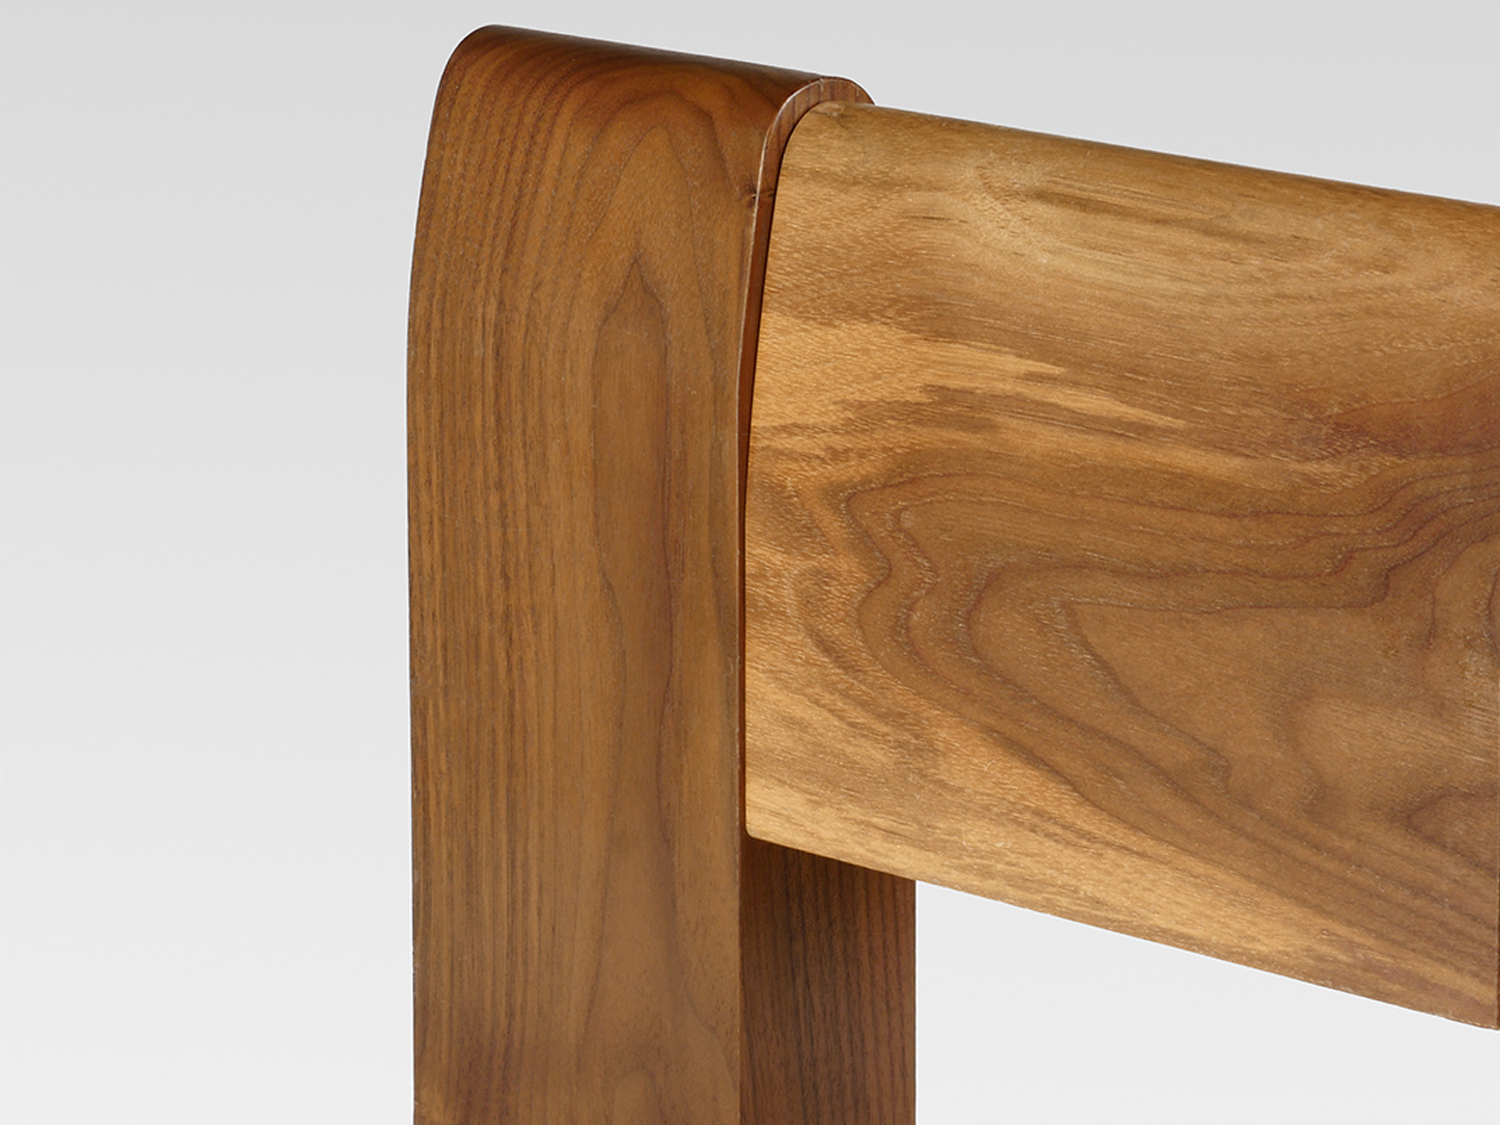
Headboard for a bed, or back rail for garden bench.
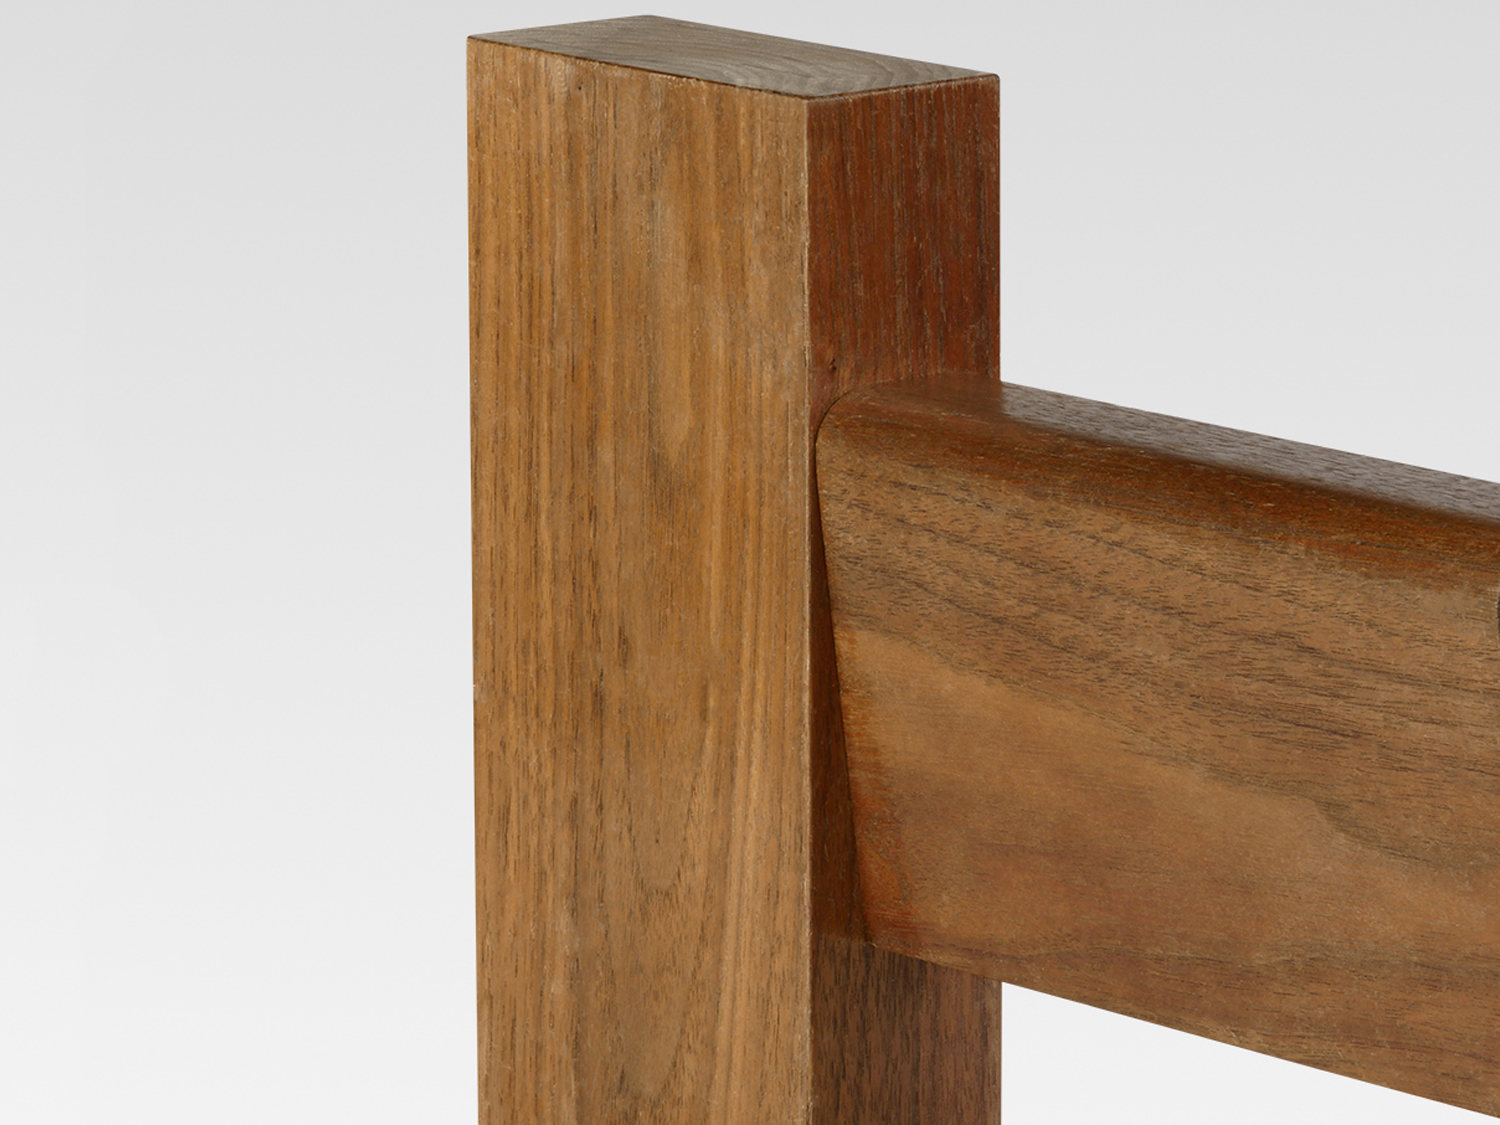
Hand rail for a sun deck or indoor landing.