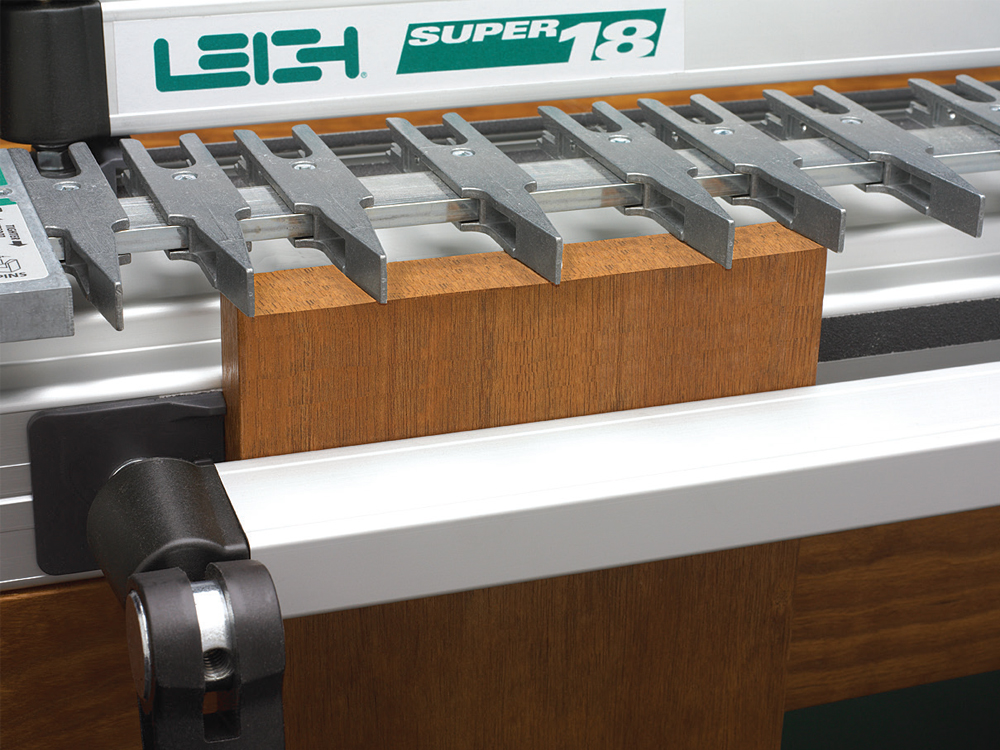
1 In the Through Dovetail Pin Mode, arrange the guide fingers to suit the design of the project. There is only one setup of the guide fingers, so perfect pin and socket alignment is guaranteed, no matter what joint layout you’ve chosen.
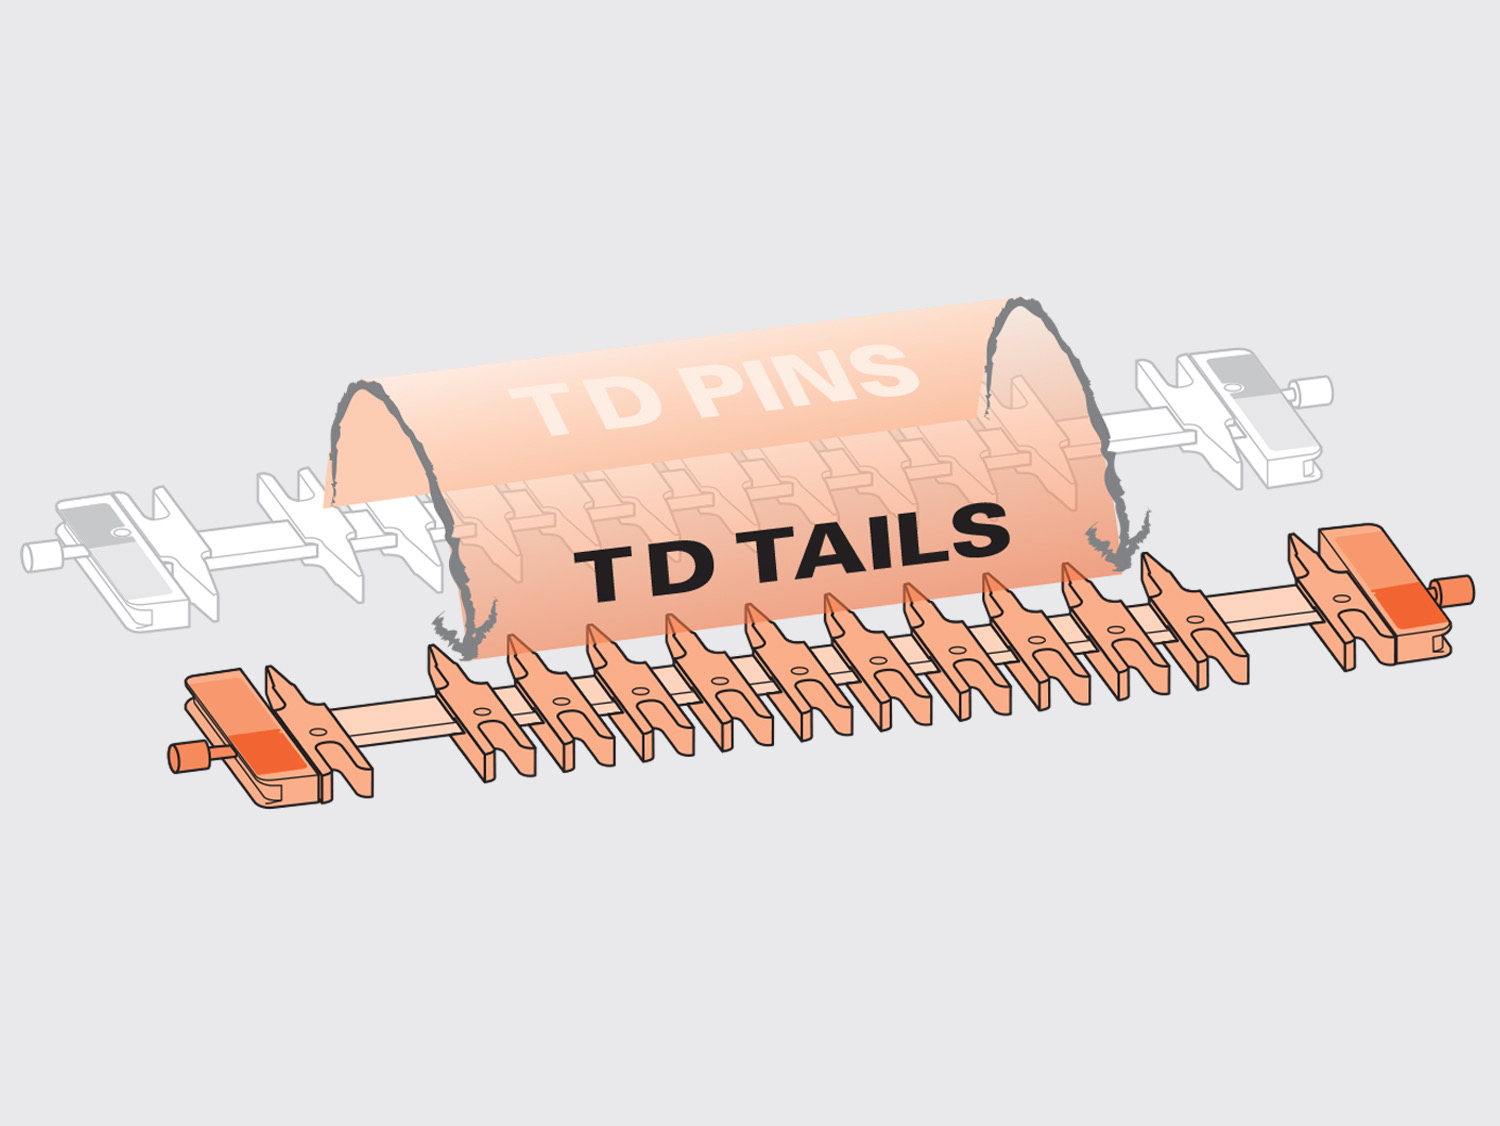
2 Flip the finger assembly to Through Dovetail Tail Mode.
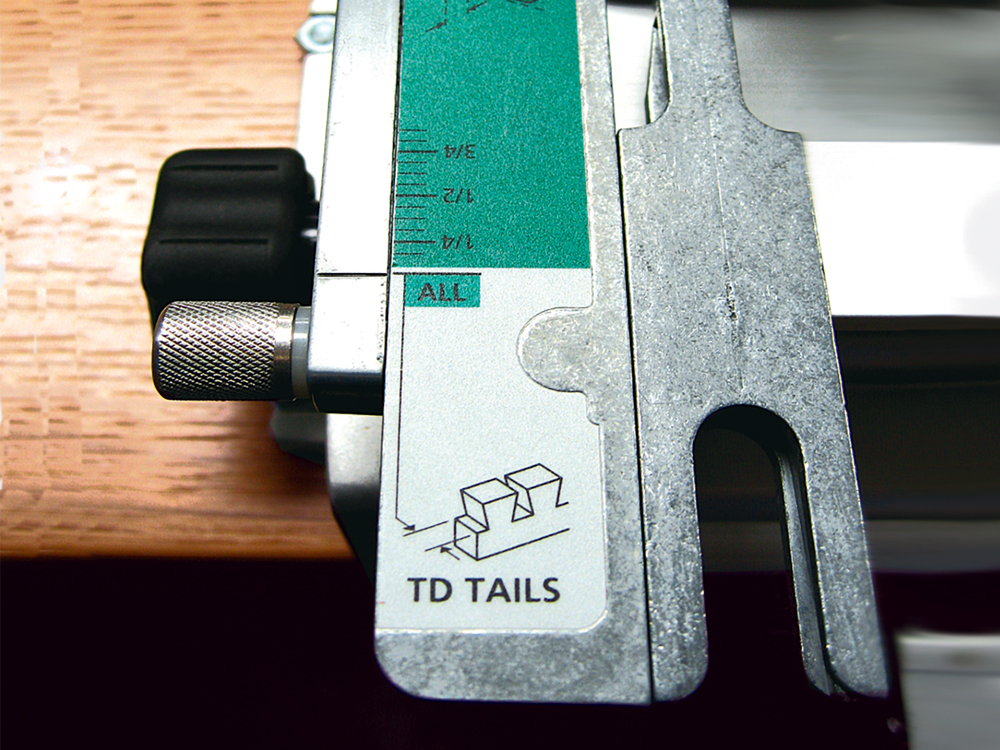
3 Now, position the finger assembly in the Through Dovetail Tail mode. Icons identify joint type. The readable scale area is always nearest the operator and is colour coded grey for Through dovetails and green for Half-blind dovetails. There is just one scale setting to rout Through tails.

4 Using the included Leigh e7 e-Bush or 7/16" template guidebush with the included 1/2" 8° dovetail bit (80-8), the e-Bush steers the router along the guide fingers, ensuring precise, accurate routing of the Through dovetail pin sockets. All 8mm shank bits work within the Leigh e-Bush or 7/16" O.D. template guidebush.
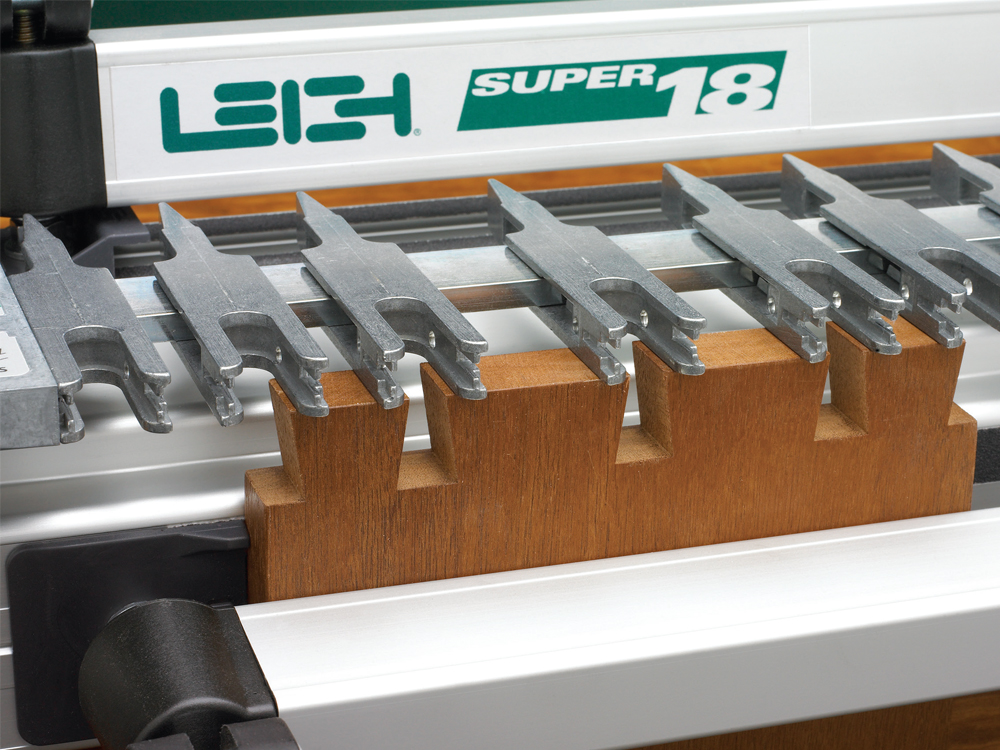
5 Individually adjustable guide fingers let you quickly set up custom layouts to suit your work. You can create any joint layout you want. Guide finger spacing is infinitely variable whether you want a symmetrical or asymmetrical joint. Now rout all the tail boards.
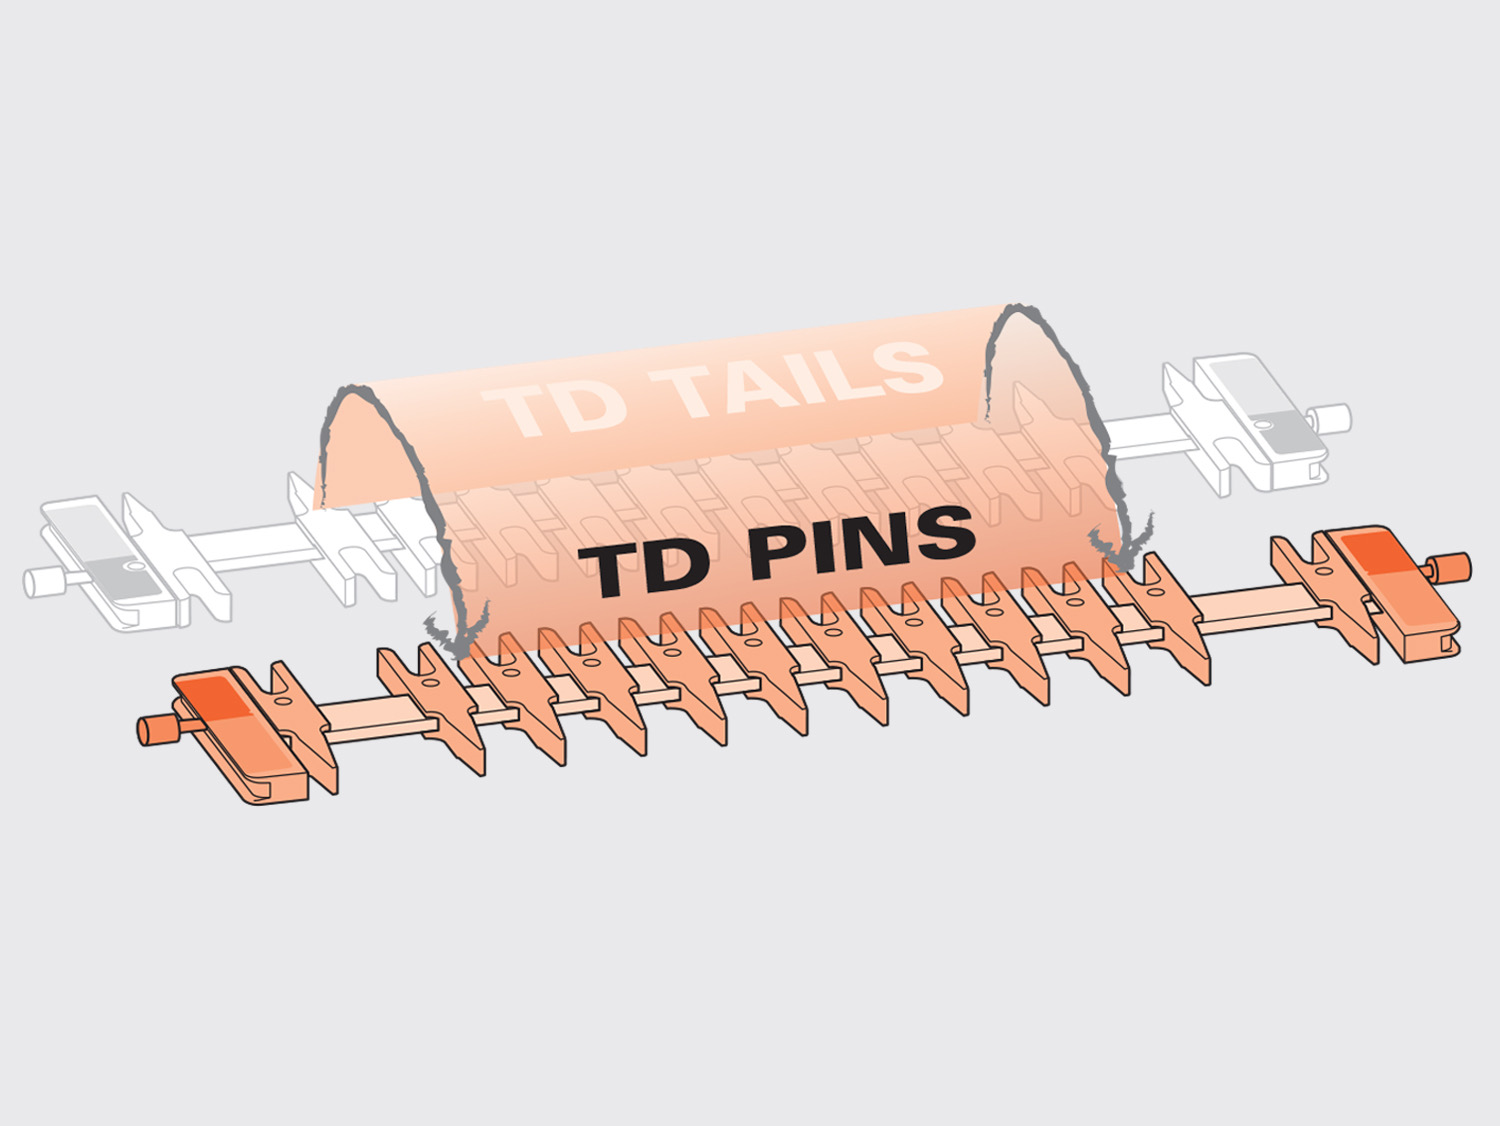
6 Flipping the finger assembly front to back changes the mode from Tails to Pins.
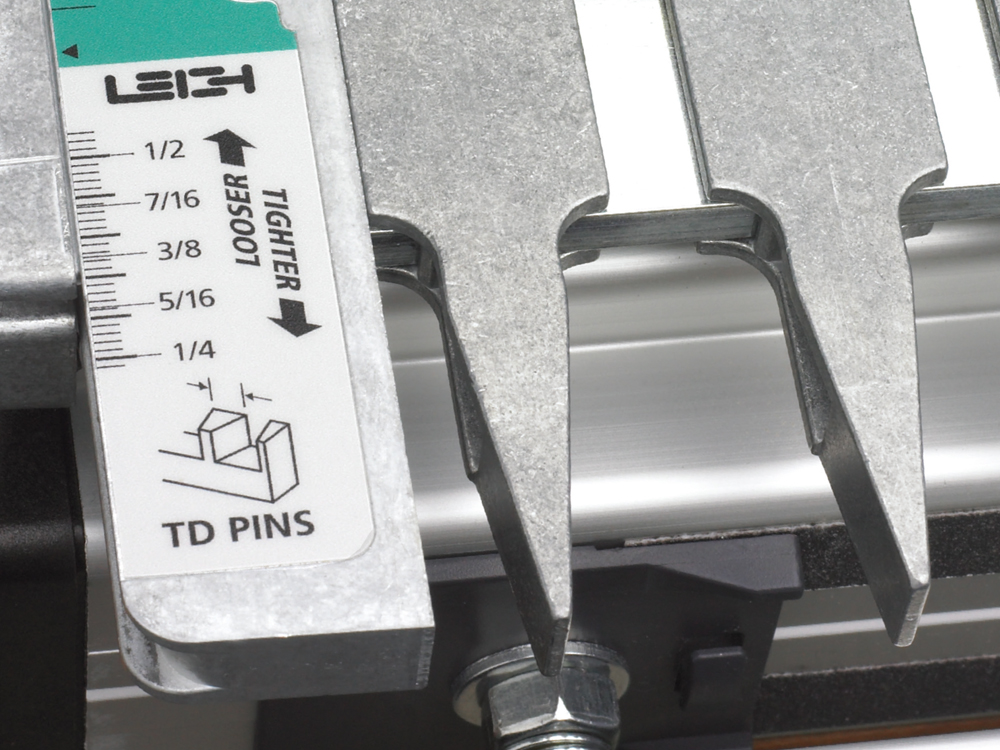
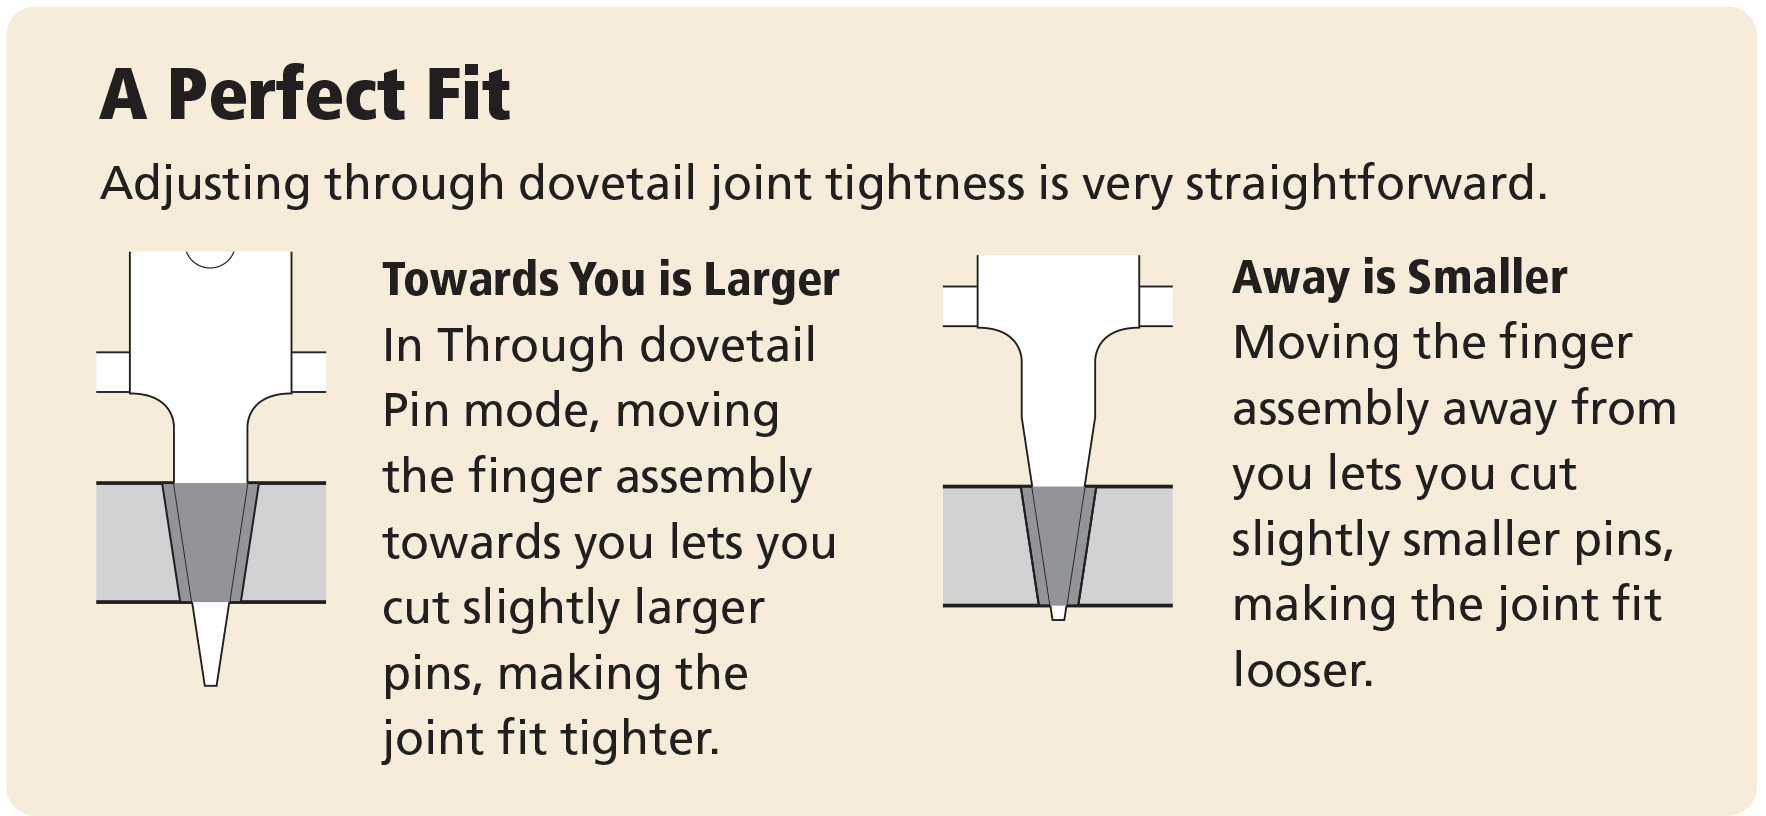
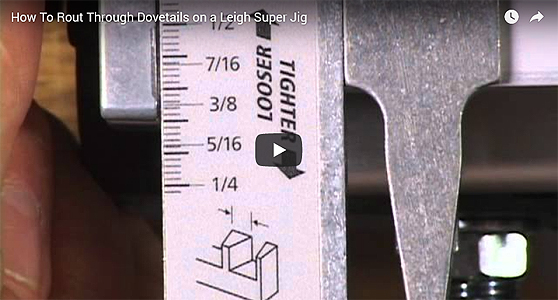
7 Adjust the pin scales to make a precise, recordable and repeatable setting for each bit combination. The pins will fit the sockets perfectly, joint after joint.

8 Install the matching straight bit in your router. The template guidebush follows the angled guide finger surfaces to cut perfectly mating pins.
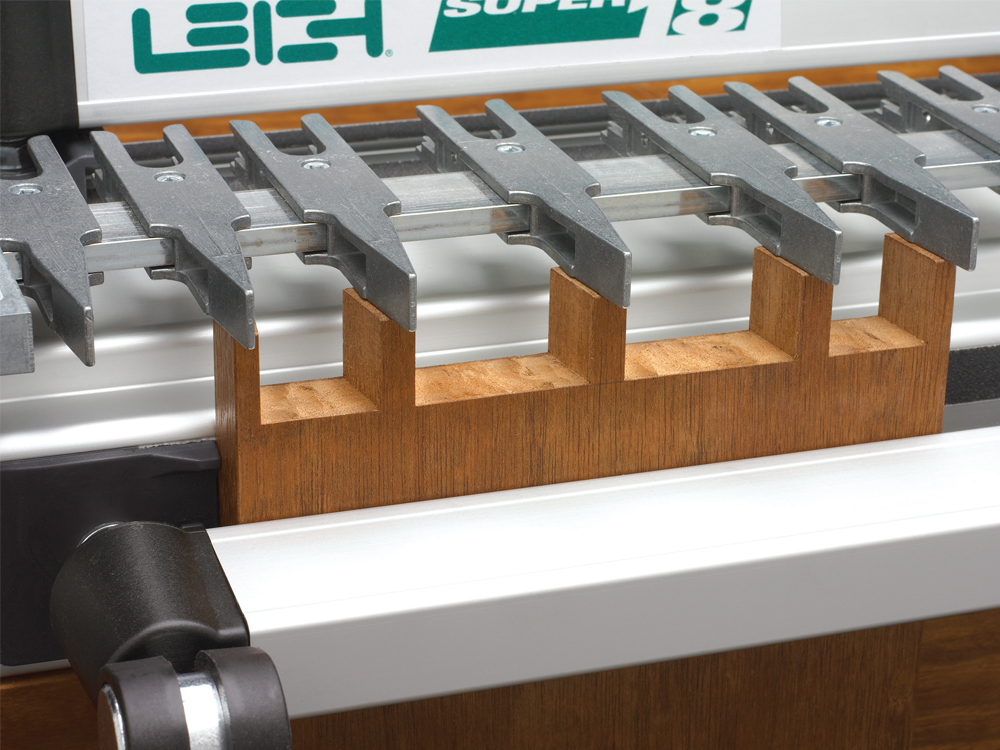
9 As you can see there's just one setup of the guide fingers, so perfect pin and socket alignment is guaranteed, no matter what joint layout you've chosen. That's all there is to it…perfect Through dovetails!